Pure Cycles Original Assembly

Prep and Tools
- Grease for pedals, stem bolts, and seatpost. i.e. Park Tool Grease
- 4,5,6 wrench or combo folding wrench
- 15mm combo wrench
- Lockring tool (for fixed gear set up)
- Favorite beverage (optional but recommended)
- Our Original series now come with rear brake kits. Check out our installation guide for those here.
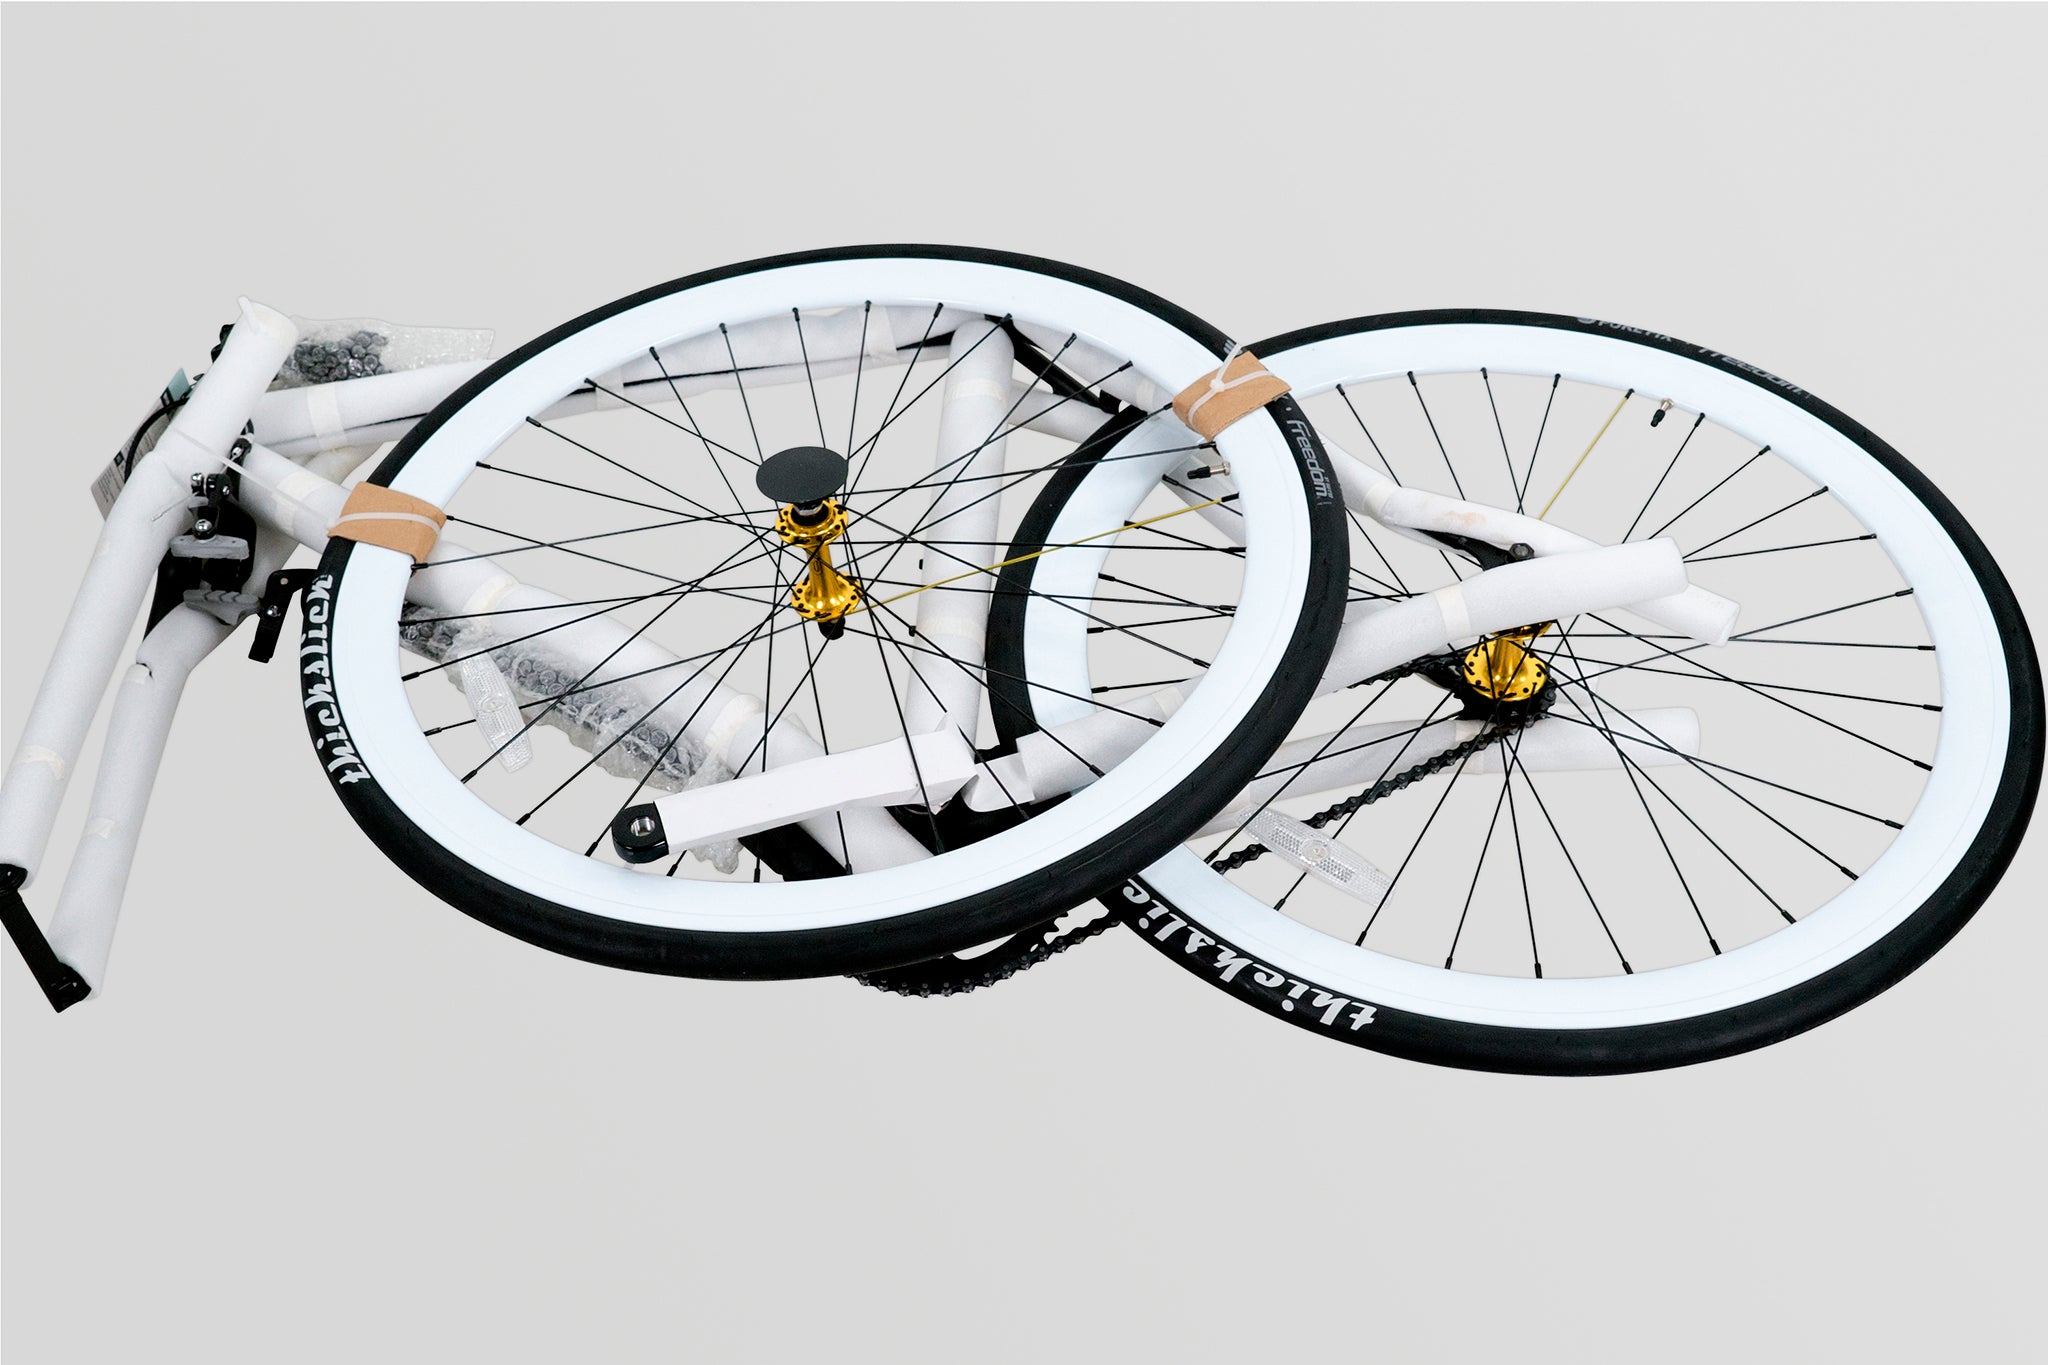
The Almighty Unboxing
Make sure your bike is upright with the arrows printed on the box pointed upward.

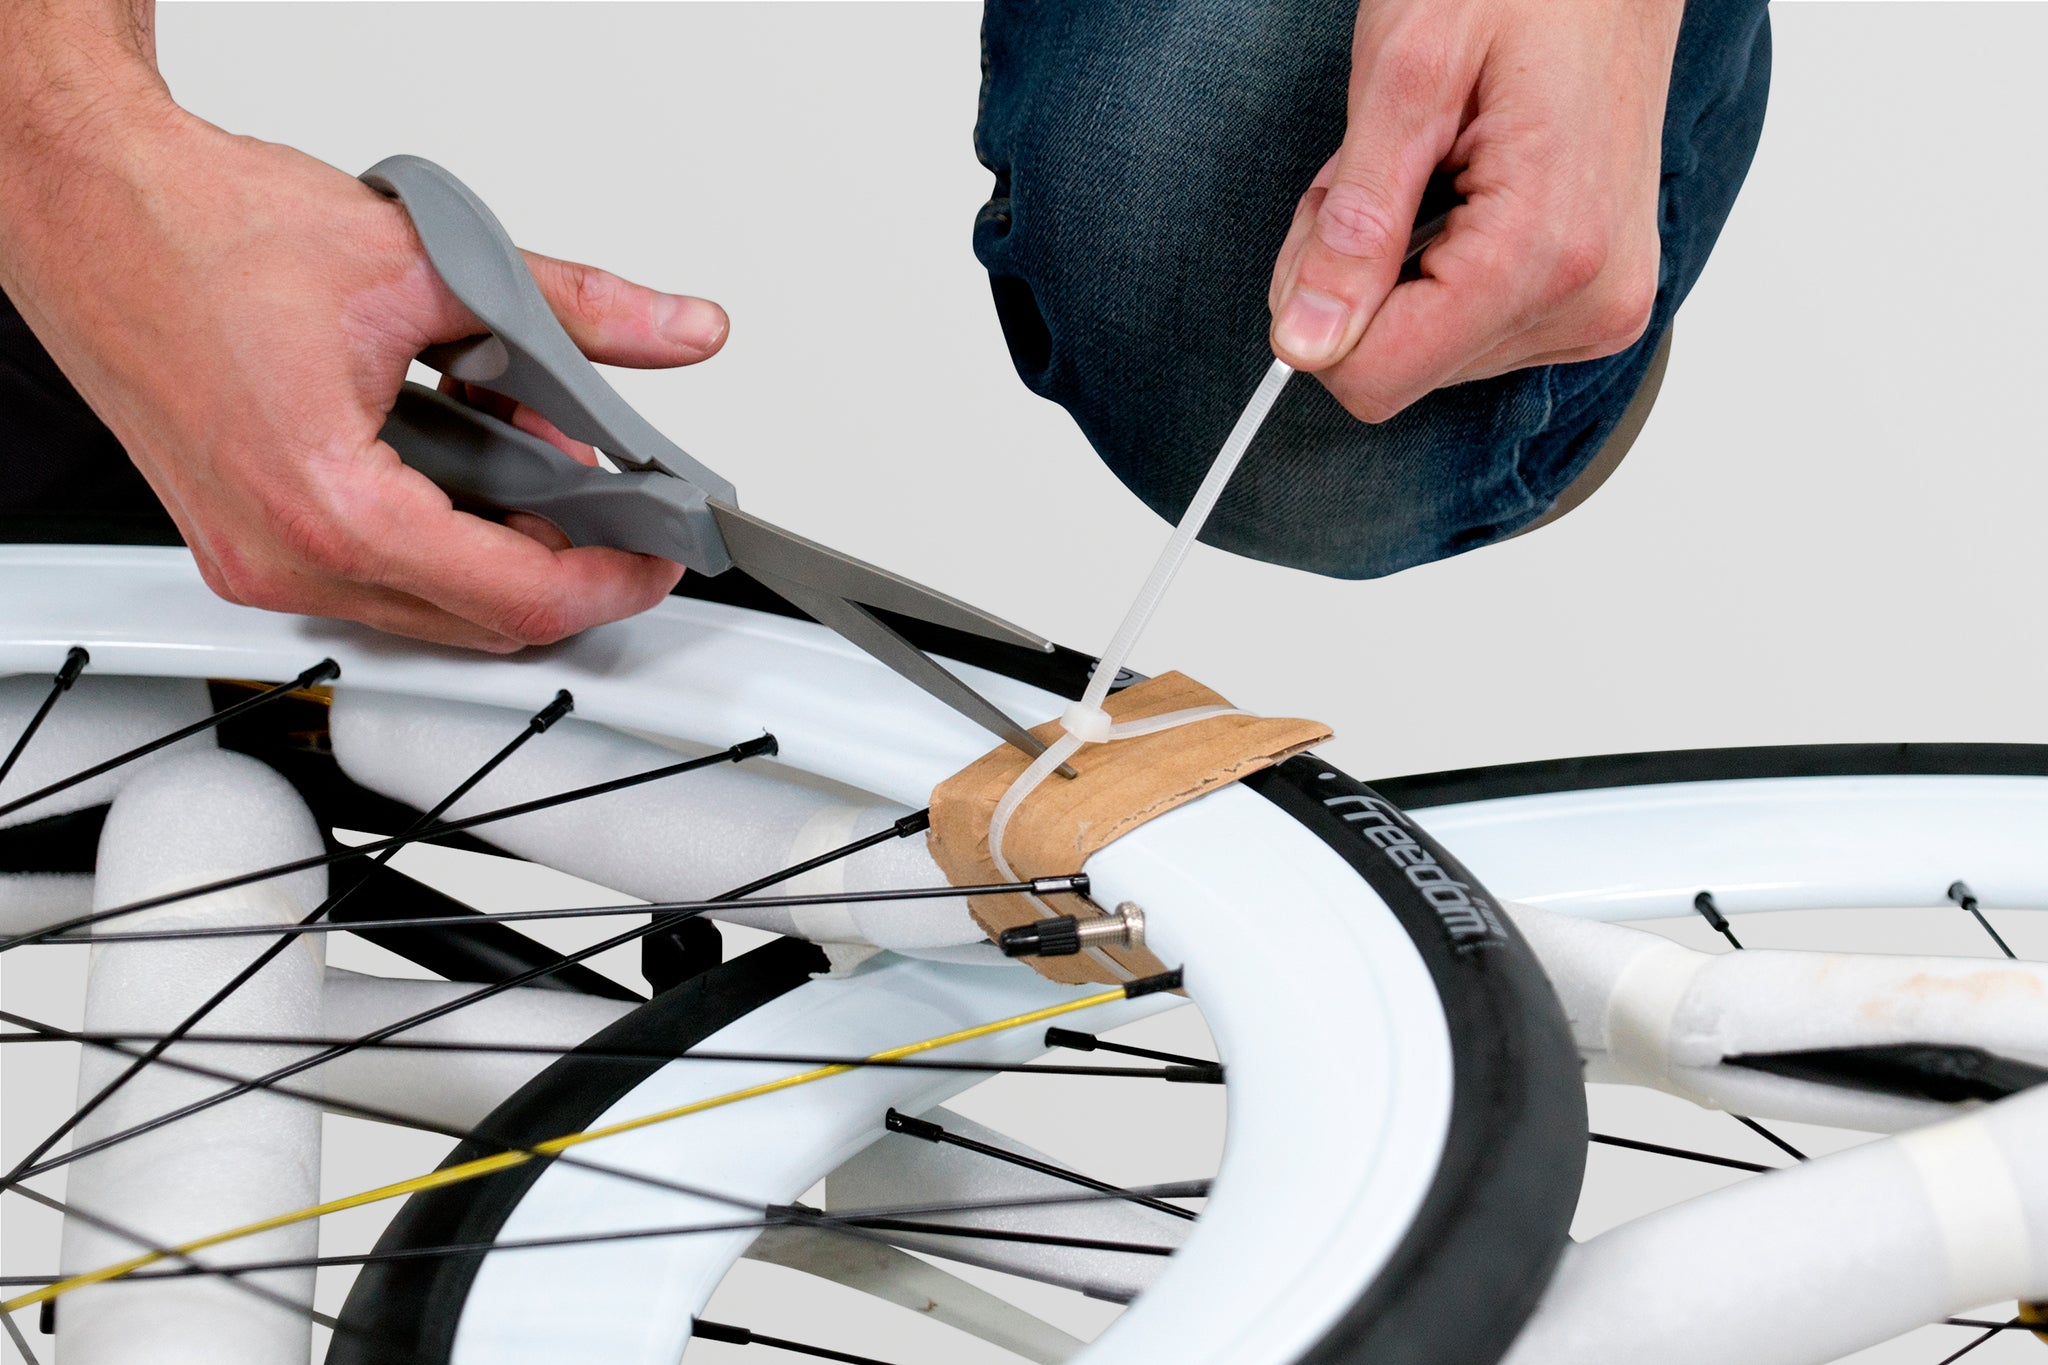
Cut the binding straps to open the box and lift the bike out by the frame and rear wheel.


Place the bike flat on the ground with the attached front wheel facing upward.
Use scissors to cut the zip ties that secure the front wheel to the frame.
Remove the plastic protectors from the axle and set the wheel aside for the time being.

Next, remove the black protectors from the front and rear dropouts and any other packaging material. (Be careful to stay clear of that front brake cable with your blade).
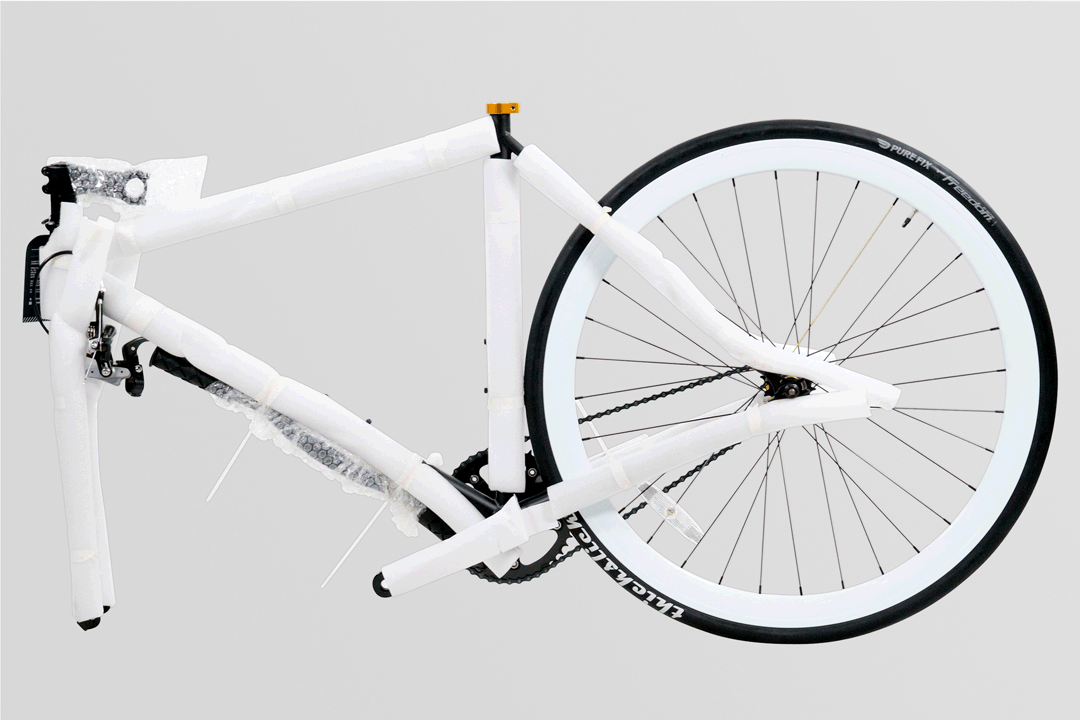
Stand the bike upright with the fork and protector on the ground.

Seatpost and Saddle Install

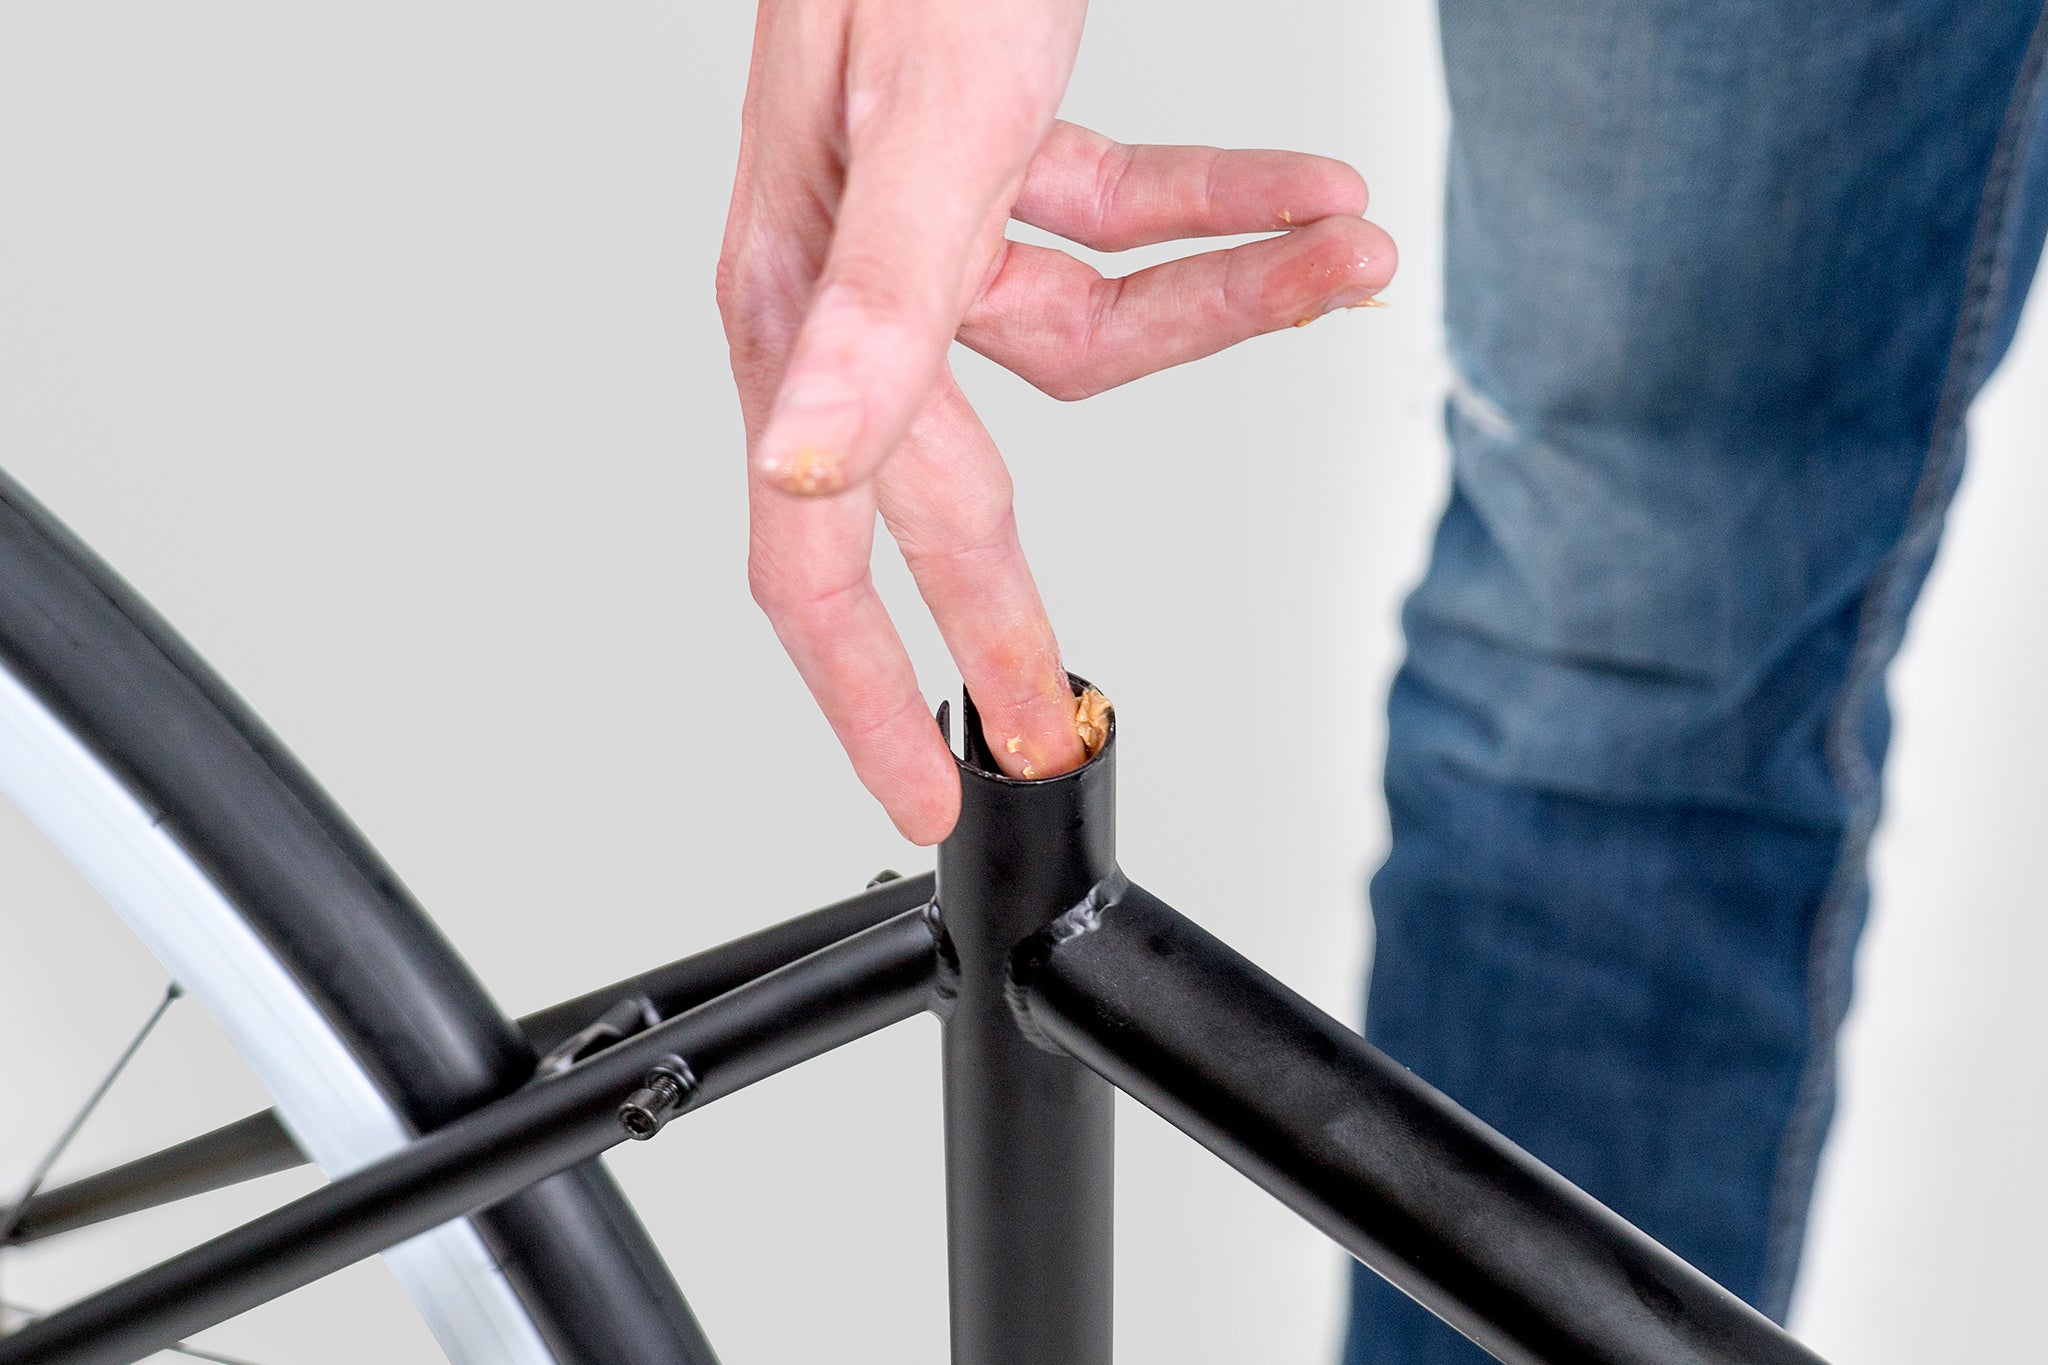
Using your 5mm allen key, loosen the seat post collar and remove it.

Grease the inside of the seattube of the frame (not the seatpost, unless you want a mess on your hands).

Replace the seat post collar making sure it is flush with the bike frame.

Slide the seat post into the frame ensuring that the minimum insertion marker is below the collar and your saddle is aligned with the frame. (Fine tuning can be done later on).

Using your 5mm allen wrench tighten down the seatpost collar.

Handlebar and Brake Install

Using your 4mm allen wrench, unscrew the stem face plate from the stem.
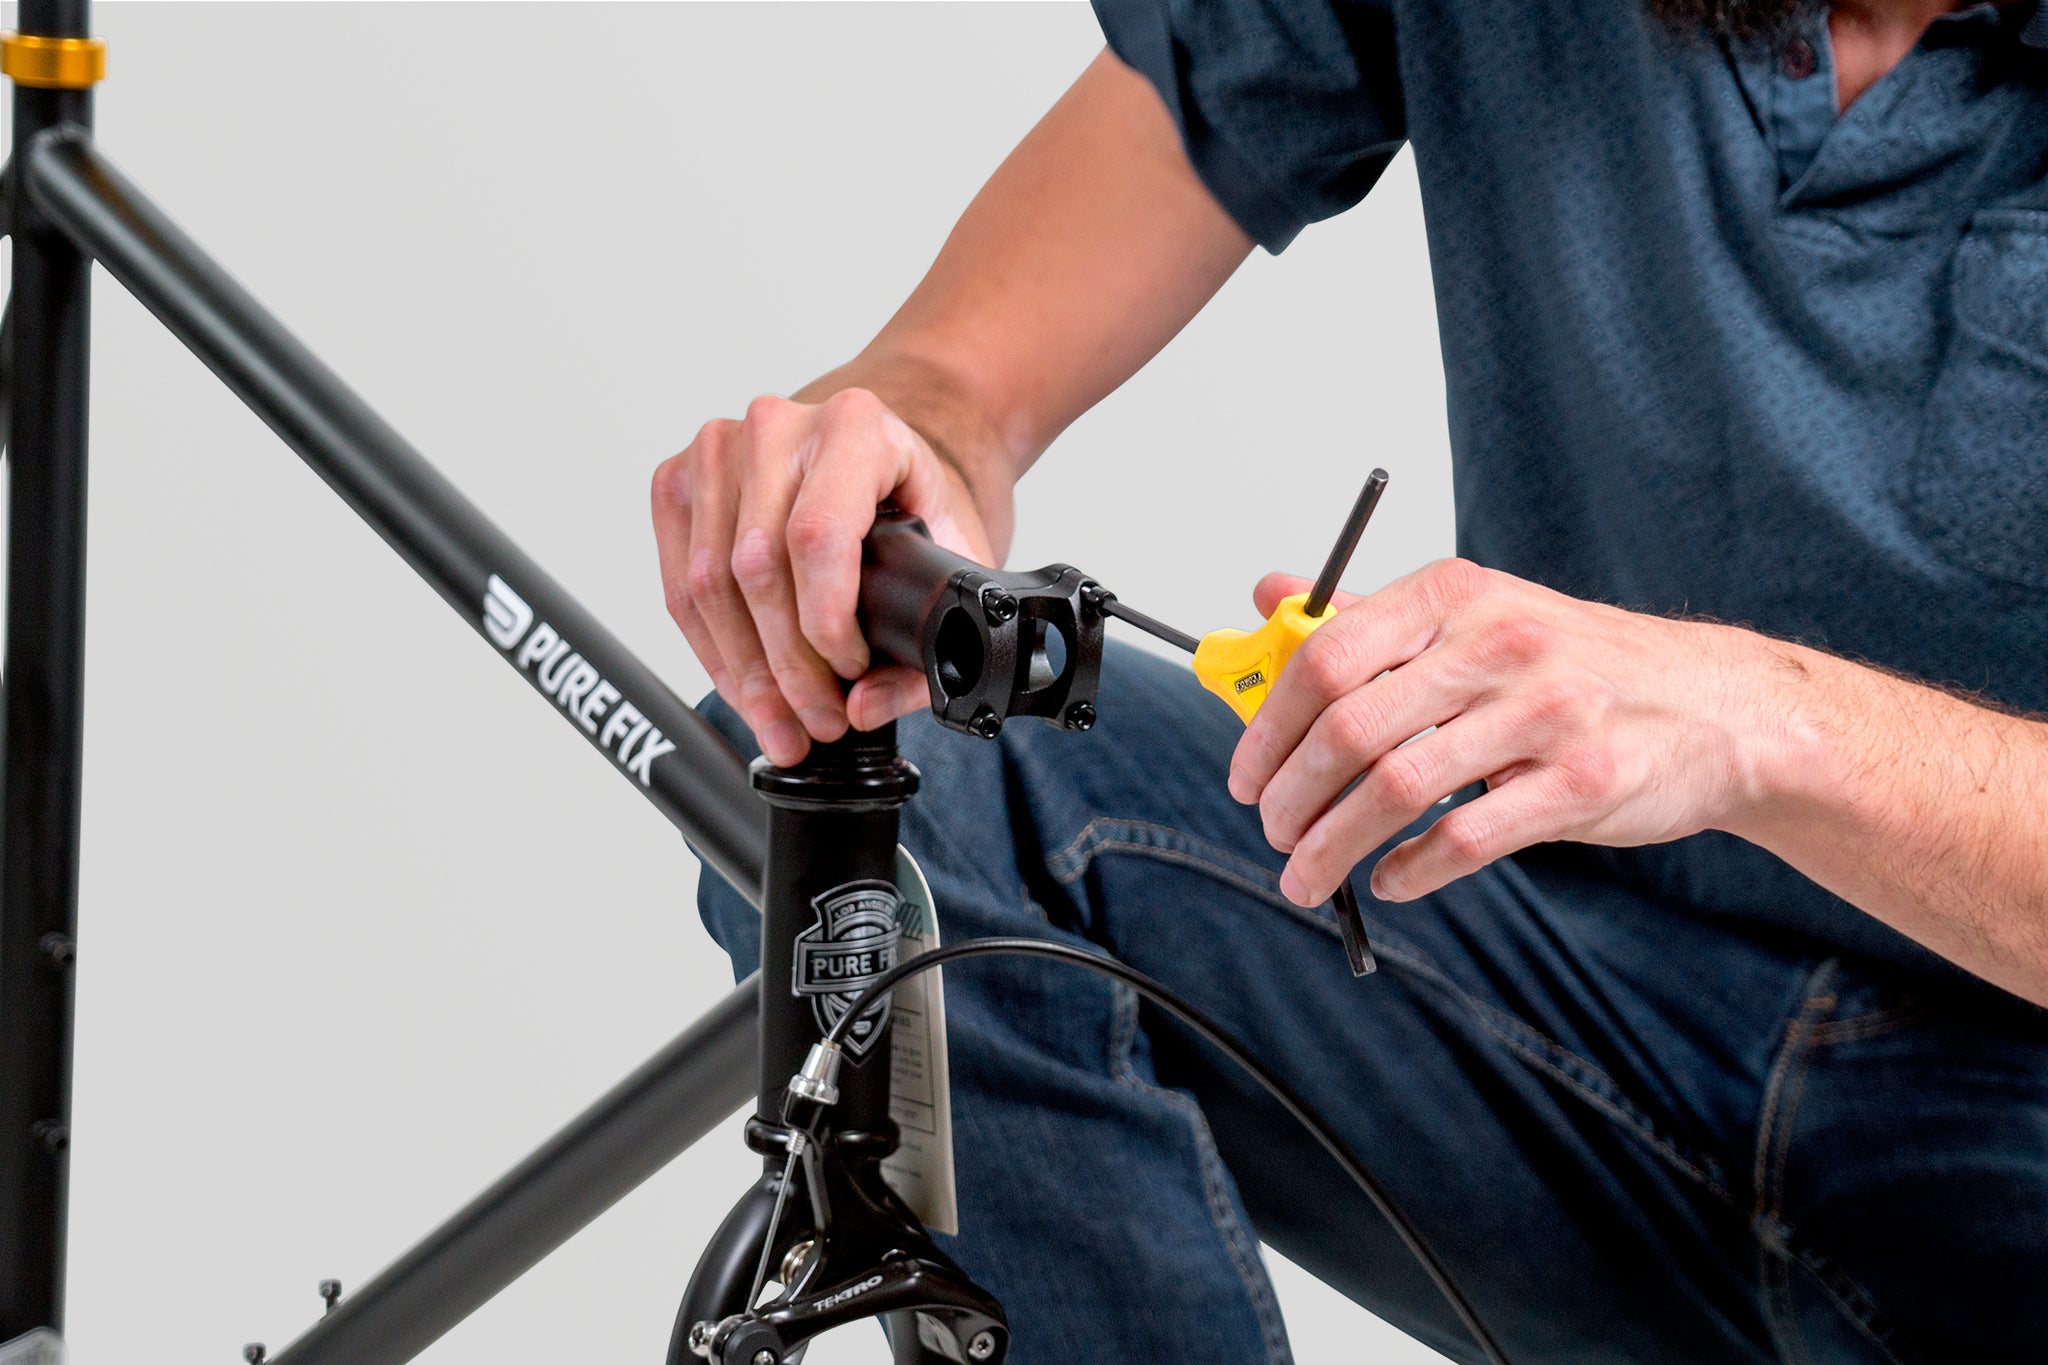

Center the handlebars and start screwing in the bolts. Do a little bit of each bolt at a time so they all get tightened evenly. If you tighten each bolt all the way as opposed to a bit at a time, you can end up with misaligned bars or snapped bolts.
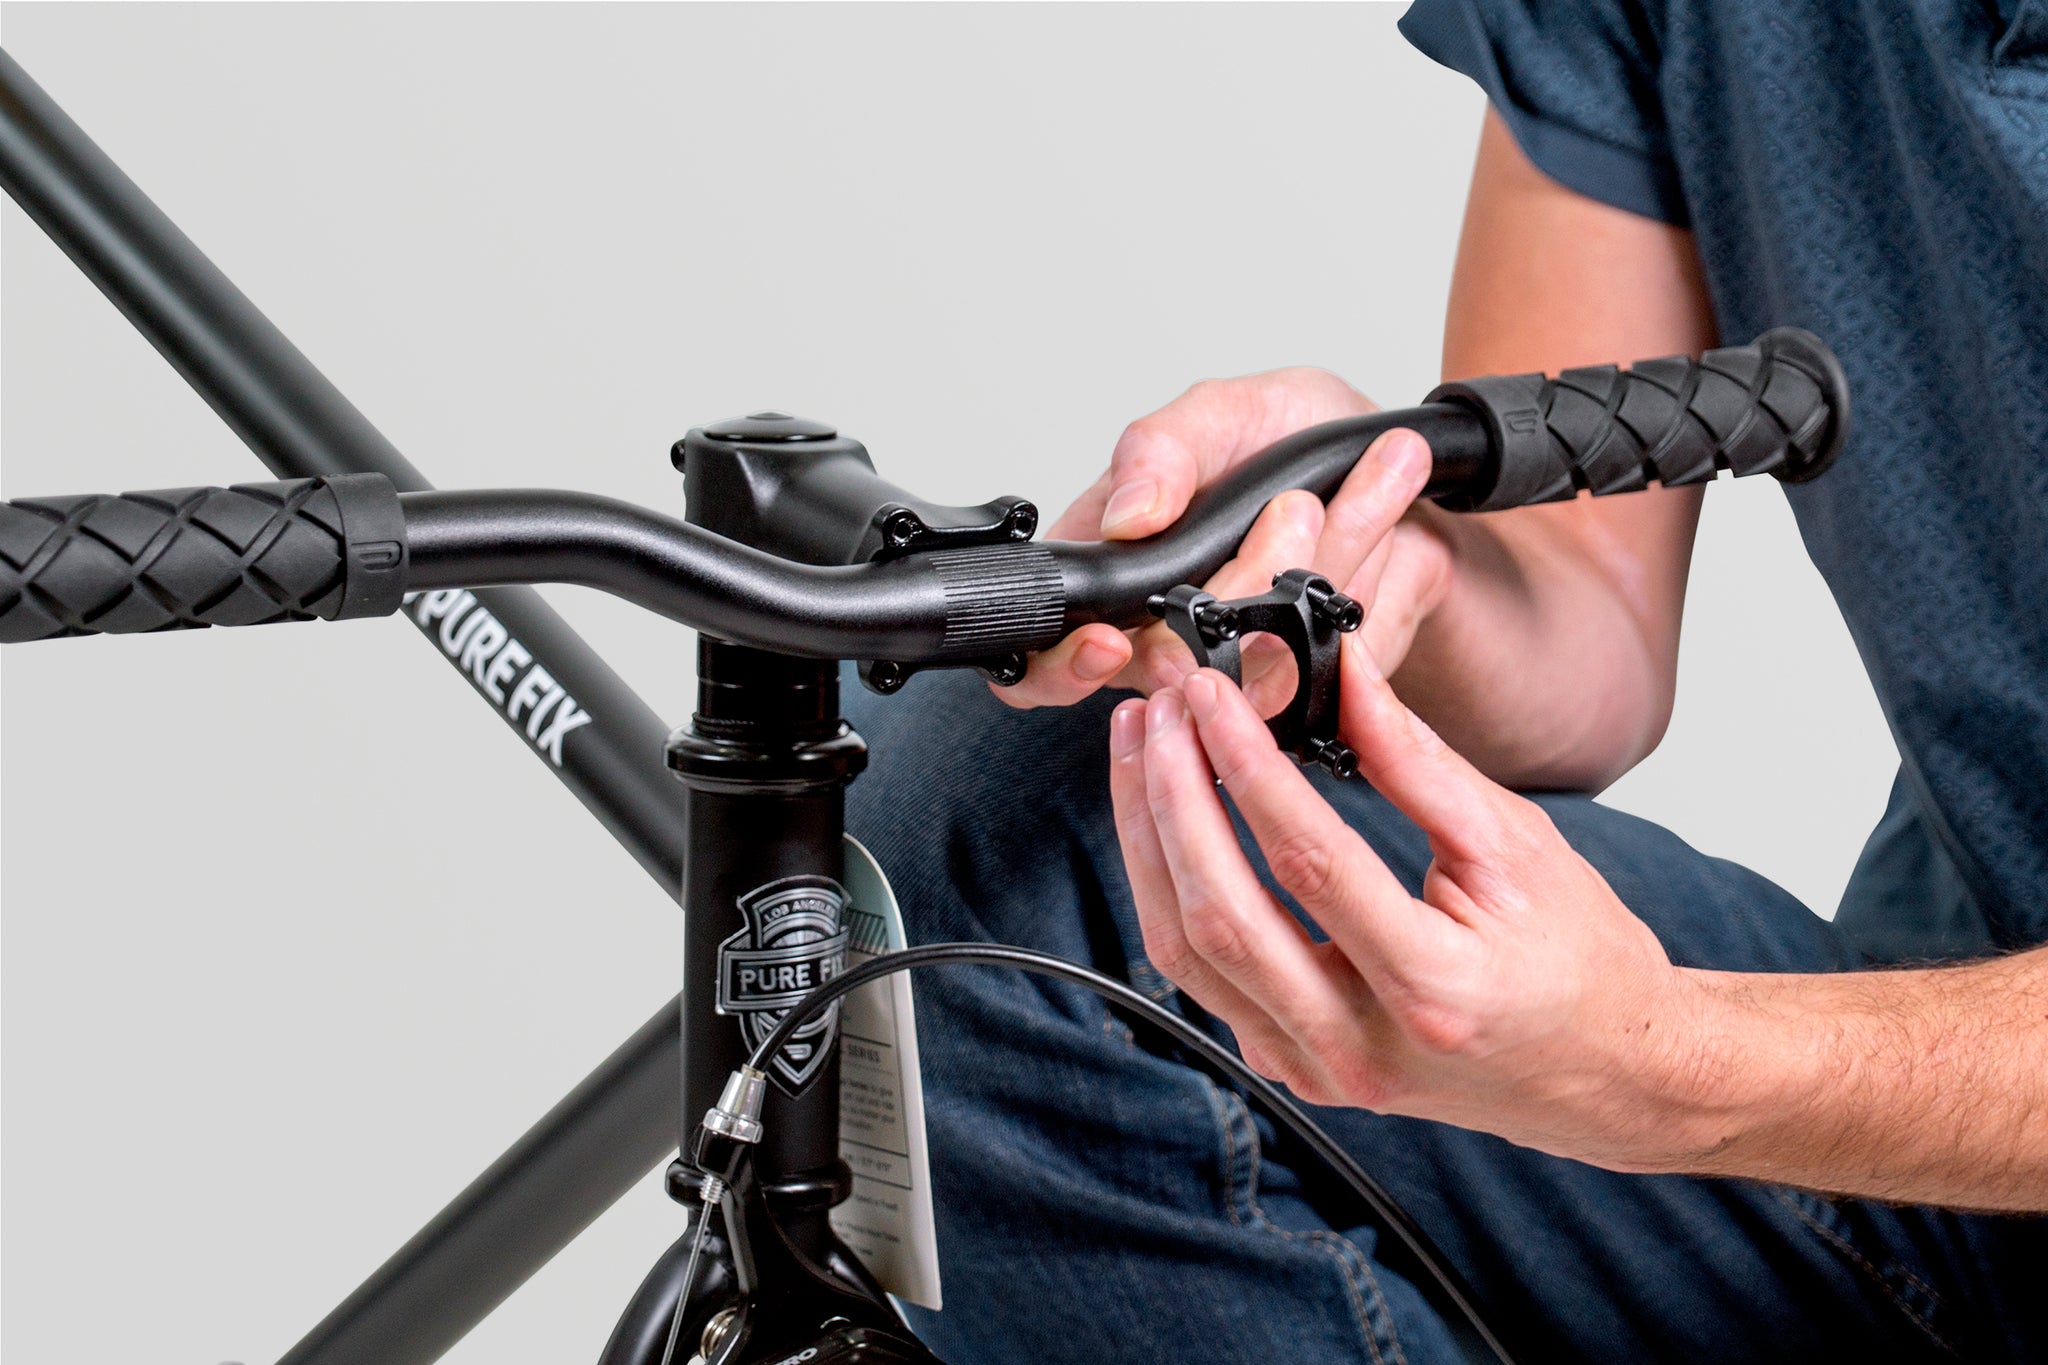
Once the bolts are evenly tightened to 'almost snug', position your bars and evenly tighten the rest of the way until you can no longer twist the bars out of position. (Make sure not to over tighten, you may damage your stem face plate).


As this point you can take the front brake lever that is attached to the brake caliper and frame and remove the clamp bolt with the 4mm allen wrench.
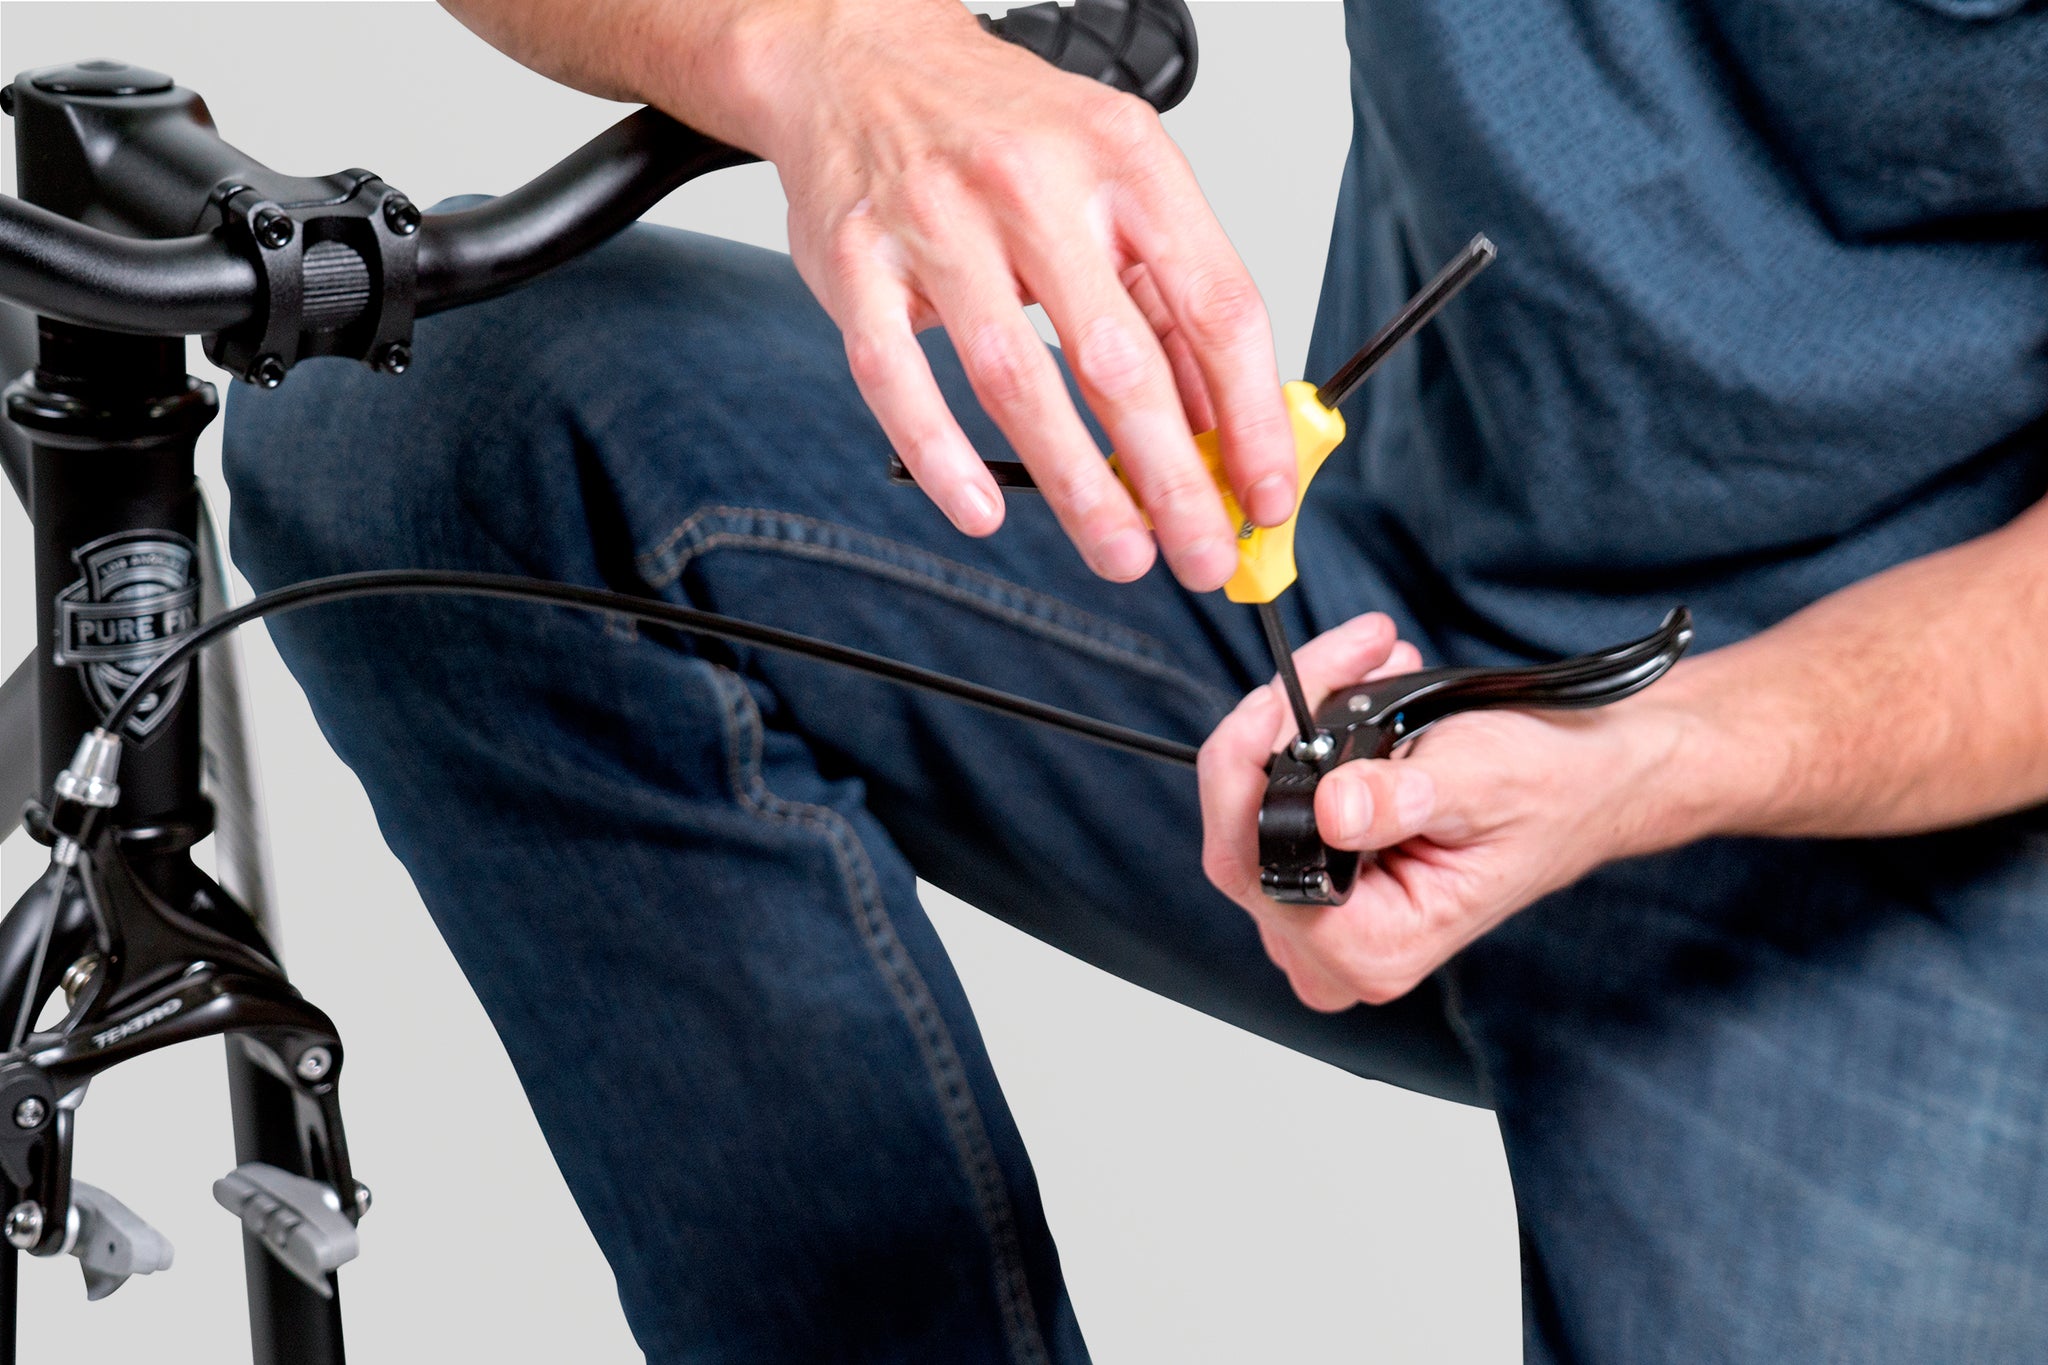
Position the brake lever on the left side of the handlebar and, using the clamp bolt, secure the brake lever.


Pedal Install

You'll want to unpack the pedals from the small included cardboard box. The pedals will be marked with either an “R” or an “L”. This will indicate which side of bike the pedal will fit. “R” will be for your driveside and “L” will be the opposite.

Make sure that before you install your pedals you properly grease the pedal threads. This will ensure that you are able to remove your pedal down the line if you decide to upgrade.


Now it's time to bust out that 15mm wrench. We're going to start on the right-hand side of the bike (driveside). Take the pedal labeled “R” and carefully insert the pedal thread into the right crank arm and begin to turn to the right (clockwise). After the pedal is initially seated, take your 15mm wrench (clockwise still) and get that pedal tightened and secured. Make sure not to over tighten as this can cause stripping.

Now for the left pedal. Take the pedal labeled “L” and, again, begin by greasing the threads on the pedal and the crank arm.


Before we go any further it is vitally important to know that the left pedal is reverse threaded. This means that you're going to tighten the pedal by turning it to the left (counter-clockwise). “Lefty Tighty” might seem a little counterintuitive, but it is massively important to remember when installing your pedals.
Now, carefully insert the pedal thread into the left crank arm and begin to turn to the to the left (counter-clockwise). After the pedal is initially seated, take your 15mm wrench and get that pedal tightened and secured. Again, make sure to not over tighten as this can cause stripping.

After you've finished take a step back and marvel at your work. You're one step closer to having a built up bike!
Front Wheel Install
Take your front wheel from earlier and loosen the axle nuts using your fingers or 15mm wrench.

There will be small black lever on your brake caliper called the brake quick release, turn it outward to the open position.


Align the front wheel and slide the tire between the brake pads and the axles into the fork.


Once your wheel is in place use your 15mm wrench to tighten down those axle nuts.
With many fasteners on the bike you'll want to be careful not to over tighten, but with these you need to make sure they're secure. The hub itself will stop the bolt from turning once it's tightened down.

Now re-engage your brake quick release.


Brake Adjustment
With your 5mm allen wrench, loosen the bolt that holds your brake cable into the brake caliper. Your brake caliper will open completely, no worries that's a-ok!

Using one hand pinch the caliper until the pads are lightly touching the braking surface. With your other hand, pull the cable taut and tighten that 5mm bolt back up again. Once you let go you should only have a few millimeters of space between the brake pads and the rim on either side.


If you notice that one pad is much closer to the rim then the other, just push the calipers back to center. You may have to take your 4mm wrench and loosen the bolt on the back of the fork, center the caliper, and re-tighten, but you can usually make the adjustment by hand with some pressure.

Now you'll want to align the pads to the rim. Loosen the 4mm bolt holding the pad into the caliper. Align the pad with the braking surface so that the top of the pad is close to the edge of the rim without contacting the tire (contact with the tire is BAD. It can strip important rubber form the sidewall and lead to a blowout).


Tighten down that bolt ensuring that the pad does not misalign. Spin the front wheel and to make sure that there's no contact between the tire/brakes/rim/wheel when the brake is not engaged.

Safety Check
First, go over every bolt and make sure nothing is loose and we mean every bolt. Here is a list of bolts we have not gone over in assembly:

(1) Crank bolt - 8mm allen (if this loosened up in shipping your crank arm can fall off (bad).
(2) Chainring bolts - 5mm allen
(3) Water bottle holder bolts - 4mm allen
(4) Seatpost clamp bolt - 6mm allen
Adjustments
We didn’t worry about getting that seat exactly where we wanted it when we greased and installed the seatpost. You can now loosen that seatpost clamp and center the saddle on the top tube of the bike and also adjust for height. Just remember not to raise your seatpost past that minimum insertion line.
Now, you'll also want to check your chain tension. If your chain is too loose it could fall off your chainring and rear cog (not good). If it's too tight, you'll prematurely wear out your chain (also not good). This is where our built in chain tensioners come in handy!
First off loosen your rear axle bolts.

Then back off the chain tension bolts until you can slide the axle a bit in the rear dropouts for a good starting point.

Spin the rear wheel until you find where the chain has the most tension. Then using the drive side tensioner, tighten down until you have about 4 to 5mm of play in the chain when squeezing on both sides.

Once you have that set, use the tensioner on the other side to align your wheel in the rear triangle. Tighten down the rear axle nuts again and get riding.

You're ready to roll! Congratulations!
