How to Photograph Your Bike

Whether you want to post your new bike to your favorite forum, showcase your steed for your Instagram fans, or just want to show off your latest upgrades, there are a few keys to taking a great bike photo (that won’t be picked apart in the comments). In today’s post we’ll look at the dos and don’ts of snapping a brilliant bike pic!
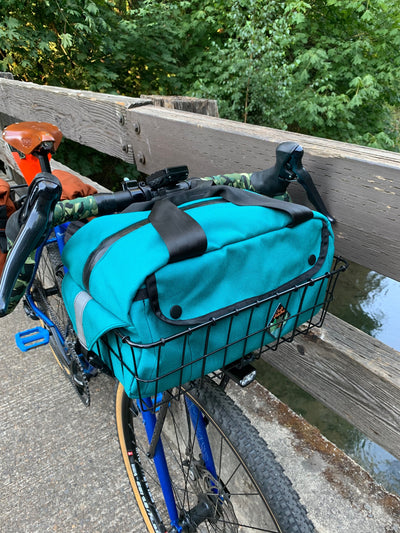
Driveside

First thing’s first, if you’re shooting your whole bike it better be driveside forward. People want to see your components, and that means making sure your crank, cog, and chain are facing the camera. Luckily, it’s pretty easy, just point that front wheel to the right and you’ll have your drivetrain front and center. Snap away.
Prop it up

Nobody likes a bike that lays down on the job. Find a cool wall or an interesting backdrop to lean your bike against and you’ll be able to snap your steed standing upright. And, if you’re looking to shoot one of those “middle of the road” shots, you can use a helmet, water bottle, or any small item underneath a pedal to prop up your bike. Just place the item on the ground and spin your pedal back (you’ll have to lift the rear wheel if you’re riding fixed) until it’s resting on the object and your bike can stand on its own. If you’re in the wilderness, a stick propping up the chainstay or downtube also works easily as a make-shift kickstand!

Crank Arms

If you’re shooting product shots and want a really clean look, line the crank arms up with the chainstay so you get one sleek line from back to front. If you’re shooting something more candid, the crank arm position is really up to you, just avoid having them straight up and down (12 o’clock and 6 o’clock) because it looks… weird.
Level Saddle

Obviously you don’t want to have to adjust your saddle just for a photo, but if your saddle’s not level there’s a pretty good chance you just need to adjust your fit. And it’s guaranteed that if you post a photo of your bike with a tilted saddle, you’re going to get heat in the comments. Level that sucker out. [Takeoff gif by zoidd]
Tire Logos and Tube Valves Aligned

Ok, this might sound nitpicky, but pro riders and shop mechanics will tell you the only right way to align a tire and tube is to match the valve to the tire logo. It’s not just superstition, though. Aligning the logos and valves makes it much easier to check your tire for debris once you’ve found the puncture on your tube (because you can just work back from the valve/logo). If you just slap everything on there haphazardly, you have to go looking for the cause of your flat on both the tube and the tire with no helpful reference point. Plus everyone will know you’re not a pro ;).
Valves Hidden or on the Bottom

This one actually is nitpicky, but we’ve come this far, so let’s include it! Whether you’re shooting product shots or candids, a big ol’ valve jutting into the wheel can draw the eye away from your sweet ride so either keep them at the bottom of the wheel (6 o’clock), or tuck them away behind the fork and seat stays. Out of sight, out of mind. (On Thickslicks, I align my valve with the secondary logo, that way I can still find my punctures easily, but can also get the valves down/logos up easily for photos).
And now you’re ready! Hit the road, find your next great shot, and don’t forget to tag #purefix for your chance to be one of our next Riders of the Week! We’ll also be dropping a new Photo Challenge this week, so stay tuned for your chance to snap your way to even more sweet stuff!